Summertime in India paints a vibrant picture – the golden sun overhead, children playing under the canopy of mango trees, and the melodic call of the ice-cream vendor breaking the afternoon stillness. The one thing that outshines the summer heat is the joy of relishing a chilled, creamy kulfi. However, frequent visits to your local sweet shop might weigh heavy on your pocket, and let’s not forget the disappointment when your favorite kulfi flavour is sold out.
This summer, let’s turn the tables. Why not bring the magic of the local sweet shop right into your kitchen? With our easy, 3-ingredient homemade kulfi recipe, you’ll experience the joy of creating this delightful Indian dessert in the comfort of your own home. All it takes is a little milk, some toast or rusk, and a sprinkle of sugar. No fancy ice cream maker, no complicated steps, just a simple recipe that even a novice cook can master.
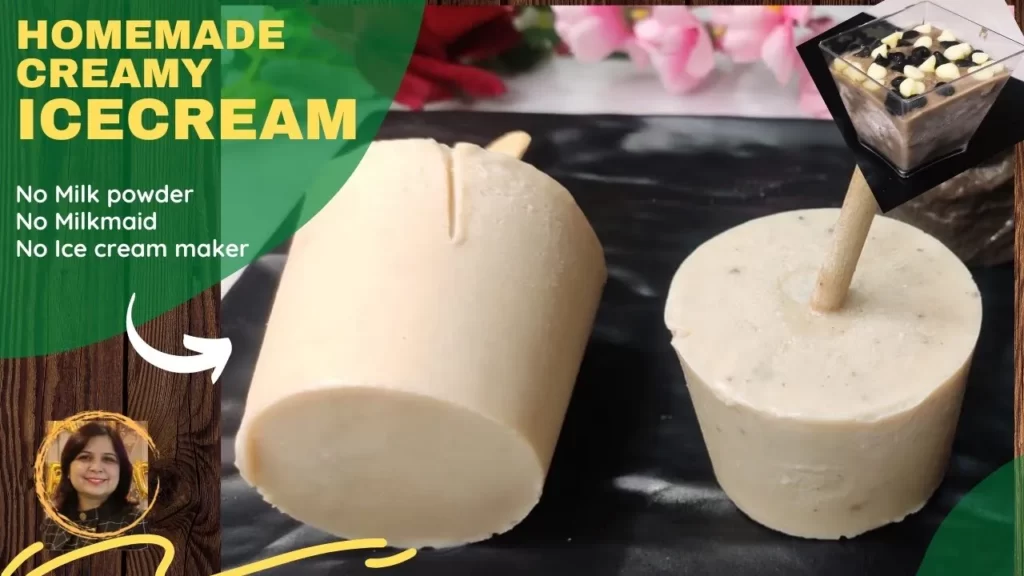
Forget about the store-bought ice cream tubs and step into the world of homemade, creamy, no-churn ice cream. With this easy-to-follow recipe, not only can you customize the ice cream to your liking, but you also get to indulge in a sweet treat that’s simple, cost-effective, and absolutely delightful. Brace yourself as we delve into the secrets of making the creamiest 3-ingredient homemade kulfi, a perfect antidote to the sweltering summer heat.
What is Kulfi ice cream?
Kulfi, the traditional Indian ice cream, holds a special place in my family’s heart and is deeply intertwined with my cherished childhood memories. From my mother crafting various ice cream flavours at home to my father bringing home an assortment from a local shop after work, these sweet experiences of enjoying icecream together have been etched in my memory.
The sweltering Indian summer holds a certain charm that is incomplete without the refreshingly cool icecream . The nostalgic sound of the kulfi wallah (kulfi vendor) making his rounds door-to-door is something that fills my heart with joy even today. His large earthen pot, filled with delightful kulfi, served on large biodegradable leaves, added a special touch to the ice cream experience.
The peak summer months of April and May were especially delightful. The beautiful Chowpatty beach in Mumbai would come alive with vendors serving various flavours of kulfi, each topped with falooda (cornstarch vermicelli), sabja seeds (sweet basil seeds), and a drizzle of rose syrup. The myriad options always left me in a happy dilemma of which flavour to choose!
The method of making ice cream can be as diverse as its flavours. The traditional approach is to thicken milk until it reaches the creamy texture of the beloved Indian sweet, Rabdi. However, sweetened condensed milk is also a commonly used ingredient.
In the recipe I’m sharing, I’ve included khoya or mawa (evaporated milk solids) to reduce the cooking time and enrich the kulfi’s flavour profile. You’ll also find the addition of pistachios and almonds, but the beauty of this recipe is in its flexibility, allowing you to customise the flavours as per your preference.
So, shall we embark on this delightful culinary journey together and whip up some cool and delicious kulfi? Let’s get started!
Overview of ingredients
- Milk: The foundations of most icecreams are full-fat milk. Milk not only gives the kulfi its rich and creamy texture, but it also serves as a neutral base that lets the other ingredients shine. With this recipe, the milk is reduced over heat until it achieves a thick, creamy consistency that forms the primary body of the ice cream. It’s important to use full-fat milk as opposed to skim or low-fat variants because the fat in the milk contributes to the kulfi’s rich and indulgent texture.
- Toast or Rusk: This is an interesting twist in the recipe. Toast or rusk is used to provide body and thickness to the kulfi. The toasted bread or rusk is soaked in the milk until it becomes soft and can be easily mixed into a smooth paste. The starches in the bread help to thicken the milk mixture further, resulting in a creamy and dense icecream. The toast or rusk also imparts a slight caramelized flavor that complements the sweetness of the ice cream.
- Sugar: The role of sugar in this recipe is two-fold. First, it provides the sweetness that is characteristic of kulfi. Second, sugar also plays a role in texture. As the sugar dissolves and cooks, it helps to thicken the mixture, giving the kulfi its characteristic dense and creamy texture.
These are simple, everyday ingredients that, when combined in the right way, result in a delightful homemade icecream. This recipe truly embodies the philosophy of “less is more” and demonstrates how you can create a delicious dessert with minimal ingredients.
Frequently Asked Questions
My kulfi did not set properly, it’s a bit loose. What went wrong?
The most common reason for a kulfi not setting properly is that the milk mixture wasn’t thickened enough before freezing. Make sure to reduce the milk-toast/rusk-sugar mixture over a low flame until it achieves a creamy, custard-like consistency.
I can taste some lumps in my kulfi, how can I avoid this?
Lumps in your kulfi might be due to the bread or rusk not being fully dissolved in the milk. Make sure to break the toast or rusk into small pieces before adding it to the milk and allow it to soak thoroughly. You could also blend the mixture to ensure a smoother texture before boiling.
My kulfi tastes a bit burnt. What could be the reason?
The burnt taste might come from the milk getting scorched at the bottom of the pan. To avoid this, make sure to stir your milk-toast/rusk mixture occasionally as it simmers. Using a thick-bottomed pan can also help distribute heat evenly and prevent the milk from burning.
The sweetness of my kulfi is not quite right, it’s either too sweet or not sweet enough. How can I fix this?
The sweetness of kulfi can be adjusted according to personal preference. If you find your icecream is not sweet enough, you can add more sugar the next time. If it’s too sweet, reduce the quantity of sugar. Remember, you can always adjust the sugar level as you’re cooking, but once the kulfi is set, changing the sweetness becomes difficult. Always taste your mixture before freezing.
Creating a homemade kulfi from scratch can be a rewarding culinary adventure, but it’s essential to keep a few key things in mind for a successful result.
Firstly, patience is the key ingredient when preparing kulfi. The process of simmering and reducing the milk-toast or milk-rusk mixture is critical to achieving the desired texture and consistency. Rushing this step could result in a ice cream that’s too loose or watery. Don’t hesitate to invest the necessary time in stirring and simmering your mixture over medium heat until it achieves the right thickness.
Secondly, remember to monitor the sweetness level as you cook. Sugar does more than just sweeten the kulfi; it also contributes to its texture. Feel free to adjust the sugar amount based on your personal preference, but do keep in mind that a certain level of sugar is required to achieve that characteristic ice cream texture. Always taste your mixture before you set it to freeze to make sure it’s to your liking.
Finally, creativity is encouraged! Once you’ve mastered the basic recipe, don’t be afraid to experiment with different flavors and additions. Perhaps some crushed nuts, a hint of cardamom, or even some saffron strands for an exotic touch. Enjoy the process, and let this kulfi making experience be a joyous journey of culinary discovery.
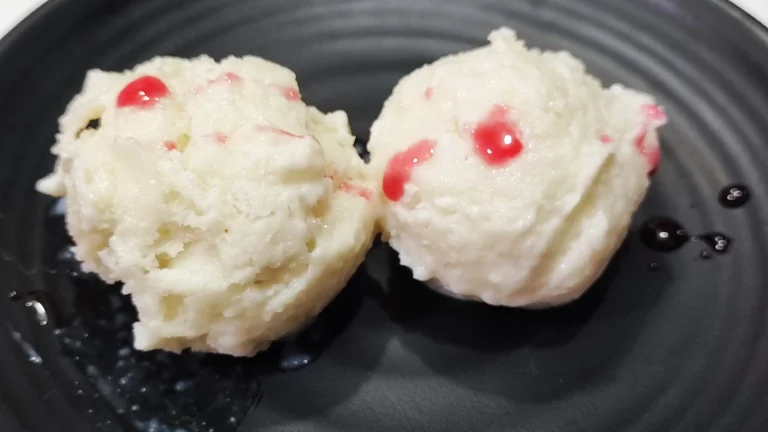
Our 3-ingredient homemade kulfi recipe brings a delightful, refreshing twist to the traditional Indian ice cream. All you need are three staple ingredients: full-fat milk, toast or rusk, and sugar.
The process involves reducing a mixture of milk and soaked toast/rusk over medium heat to a custard-like consistency, sweetening it with sugar, and then freezing it until firm. The result is a rich, creamy kulfi that has the perfect balance of sweetness and texture. This recipe yields 8-10 servings, making it a great choice for family gatherings or summer parties.
Remember to be patient during the cooking process to achieve the ideal thickness, adjust the sweetness to your liking, and feel free to get creative with different flavors and additions.
This simplified kulfi recipe allows you to enjoy the delectable flavor of the classic Indian dessert right at home, creating an unforgettable summer treat for your loved ones.






What’s up to all, how is everything, I think every one is
getting more from this site, and your views are fastidious in favor of new users.